Phishing has its challenges. Getting the phish into the organization and past mail gateways, for example. Further, when organizations demand higher-quality spear-phishing campaigns then aesthetics becomes a very real issue, since we as adversaries care less about statistics based phishing but more so about eventual command and control. This post is going to discuss how to remove, or redress rather, the annoying default .ico image applied to embedded Office COM objects.
TL;DR
Let's change an embedded Office COM object from looking like trash to a nice looking button that our target phishing recipient would want to click.
ZERO COM Object IMAGE
HERO COM Object IMAGE
The Background Issue (err...really the foreground)
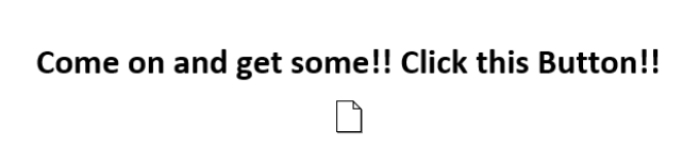
In the days of ole there used to be a means to select a file with an unknown extension type, such as rando.dat, and an empty image would be applied to the embedded COM object. However, this doesn't work anymore and to compound the issue, the default image is always foregrounded even when attempting trick the COM object into using our own fill .PNG. Better to show you an example of what I mean.
![]()
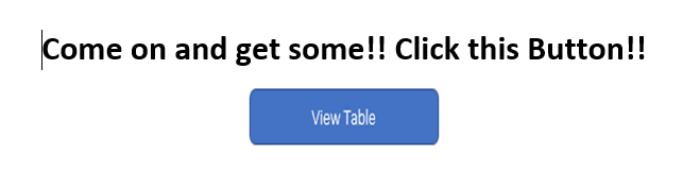
Right?! I know, that won't work at all for a phish. So, I got to thinking about traditional web UI redressing attacks with CSS. The idea being that if an ICO file is going to foreground by default then we should be able to simply create a transparent 32px X 32px .ICO file without a label, which will overlay our PNG image (e.g., button). Turns out that this method works quite well, and effectively makes our entire button image clickable.
I'll take you through the process so you can use it on your next phish. Also, the "View Table" button is just a PNG that I created. You could simply download a PNG from someplace or create one in an office document and save as a PNG picture. Whatever works.
Creating the Tranparent ICO Image
The key to making this whole thing work as expected is to create a transparent Microsoft Icon file (i.e., ico). I normally use the OSX Affinity products for most everything image related, but those apps aren't free. Instead, I am going to use the Linux GIMP application to make this more accessible to everyone.
To get started fire up Gimp, it may not be installed on your distro as it wasn't on my 16.04 build. Otherwise, apt or yum install it, if necessary.
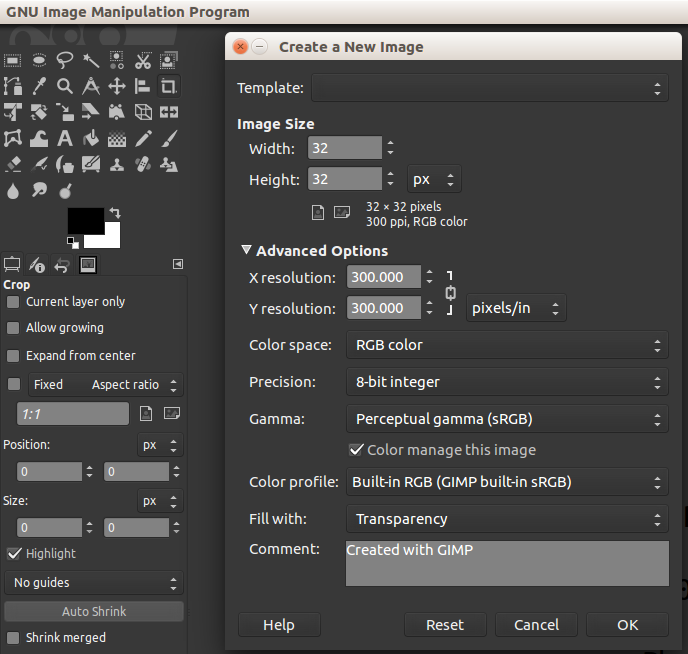
This should have just created a transparent image with a 32px X 32px square. The size of the image doesn't really matter considering we will tell the COM object to use our Button PNG as the clickable area here shortly.
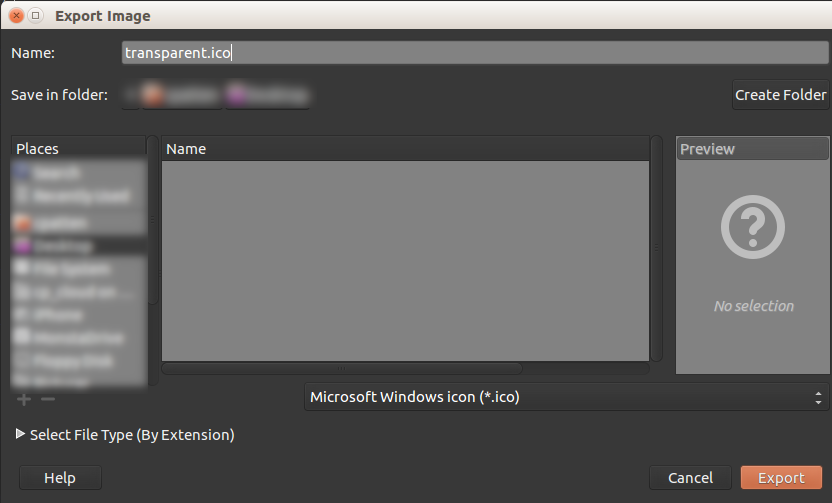
Right clicking up on File and Export As we can then export the file with an ico extension. Also ensure that Microsoft Windows icon (.ico)* is selected as the export type.
Set the Icon details and click export. We should now have an image called transparent.ico, or whatever you named it.
Embedding the COM Object
Now that we have the image, let's move onto the COM object. Although we need to make a decision here. Do we want to create the COM object using the Create from File or Create New? If we choose the former then we will run into an issue with linking to external Web and WebDav locations. This is a restriction imposed by Microsoft to mitigate malicious linking, but to get around this we can choose the latter, Create New, and scroll down to Package.
Next let's select the Display as icon and browse to our transparent.ico file that we created previously. We can't just leave this option unchecked otherwise we will get a default placeholder ico image that will be foregrounded when we place the button image later on. Recall this is absolutely what we are trying to overcome with this blog post.
If everything went well we should see the following icon, or rather lack thereof.
![]()
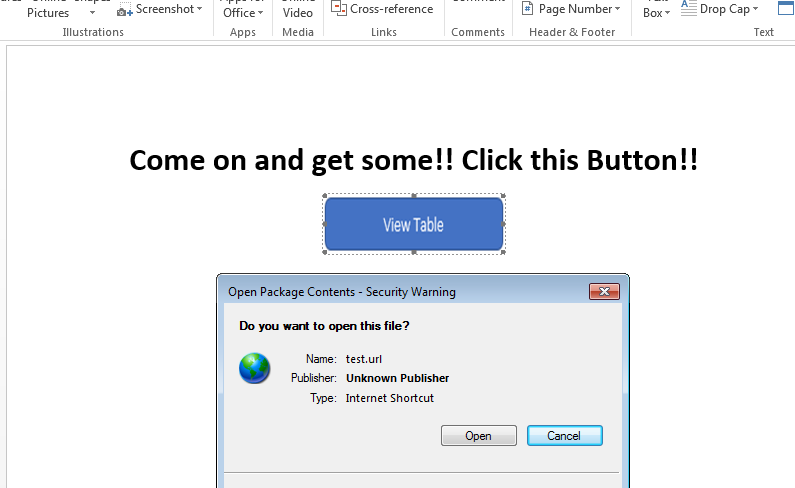
The next step is to point to our weaponized payload, whatever that may be. I am using a secure WebDav endpoint located on an AMZ EC instance hosting a Microsoft .URL file. More on this in another post, as I will use all of these techniques to usher in a phish in conjuction with a DLL preloading/hijacking attack.
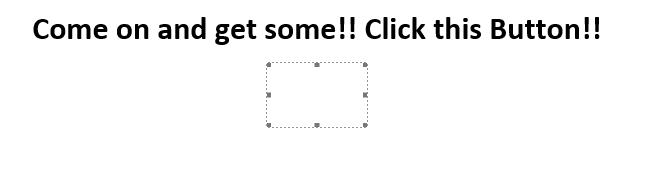
The final step asks us to provide a Label name. Since we don't want any sort of text displaying along with our transparent image, we simply enter a single whitespace.

Take a look at what we have done so far. I am highlighting the COM object so you can see that it really is in the document, however, we can't see it. So far so good.
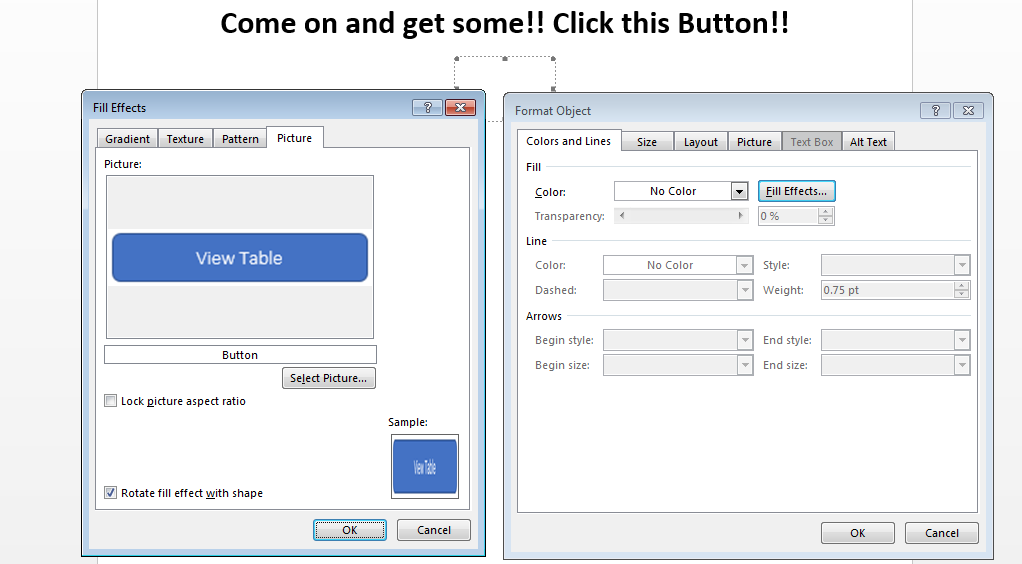
Adding the Clickable Image
Now that we have the COM Object embedded within the document, lets add the Button image. First right click on the COM Object and select Format Object. Then click on the Colors and Lines tab and click the Fill Effects button. This should then bring up another window that allows you to browse to our desired PNG file (e.g., Button.png).
Alright, we have reached the twilight of our labors. If everything went as planned you should be rewarded with the following COM object masquerading, or redressed rather, as a clickable button.
Conclusion
Targeted Spear-Phishing can be frustrating as hell, no doubt. However, we can make good on our solicitation campaigns with some creativity and also staying current on emerging circumvention techniques. This post has hopefully stoked the creative fires to try something different on your next campaign. As I mentioned earlier, this is just one of many posts around building a more advanced phishing campaign and will publish those as soon as...well STACKTITAN is busy so whenever I get a reprieve. I would like to hear from anyone with more to say about this topic and remember, always forward.